Showing posts with label Baking. Show all posts

Friday, February 24, 2012

Lavender-Lemon Cookies with Lemon Glaze

I thought I would end this week on a sweet note and share this amazing recipe for Lavender - Lemon Cookies with a Lemon Glaze. I developed a little obsession for lavender when I visited Provence a few summers ago. There, this herb grown everywhere and they use it in everything from Lavender Honey iced tea, to the base for essential oils, to breads and pastries. During the summer months, this entire region of the south of France smells of Lavender and is covered with fields of bright purple. As the weather here in NYC has turned ridiculously warm for february (again), I was in the mood to fill the apartment with this provencal scent...and what better way to do it, then in these fast and easy cookies...
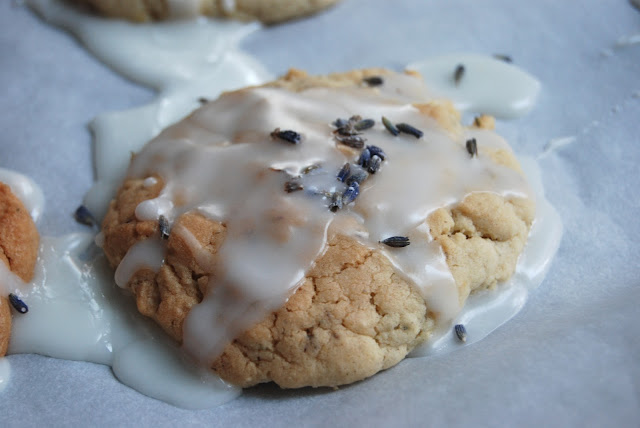
Lavender - Lemon Cookies with Lemon Glaze
For the base of this recipe, I used Martha Stewart's Lemon Cookie Recipe. To add the essence of Lavender, I used lavender sugar instead of regular sugar. When I was living in London, lavender sugar was something you could pick up at the grocery store. However, here in New York I didn't find it so readily available, so I made my own just by adding 2 TBSP of dried lavender for baking (that I picked up here..you'll be able to get this at a good grocery store) to the 1 cup of sugar needed for the recipe. I quickly blended it in the food processor to fully incorporate it, sifted it to get the big pieces out, and Voila! You have your sugar....
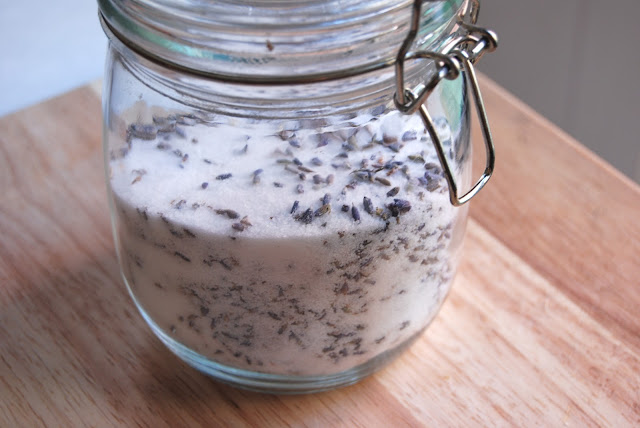
Dried lavender flowers added to my caster sugar.


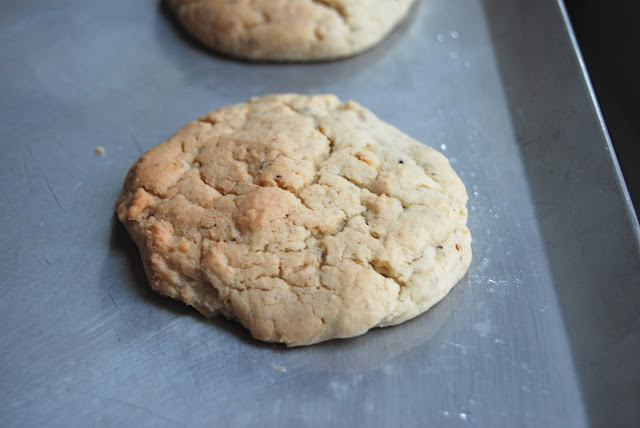
Bake until golden


For the Lemon Glaze I used this recipe. But as for any glaze, it's just 2 cups Confectioners sugar and 1/3 cup of some type of liquid..and in this case it's lemon juice. Whisk together, and you have your glaze. Easy!
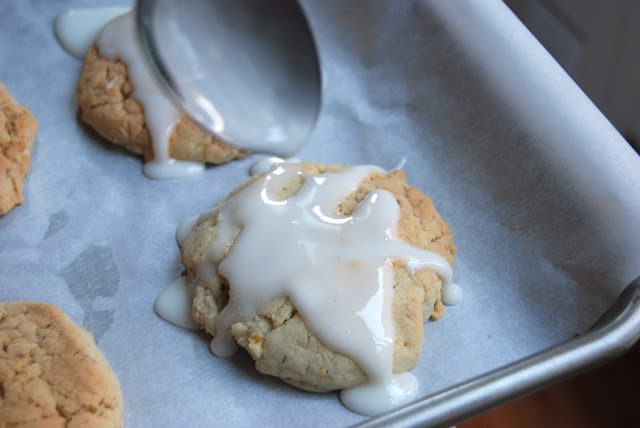
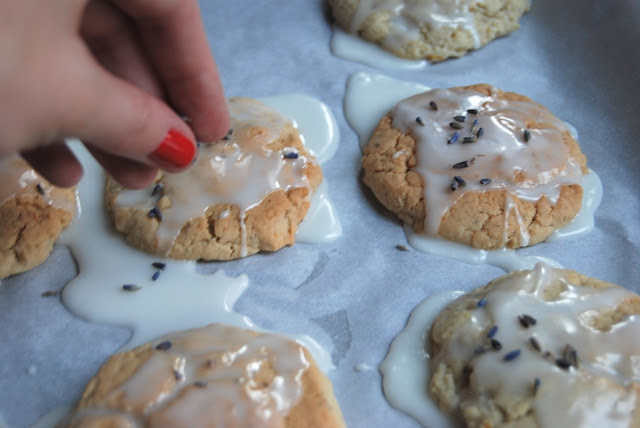
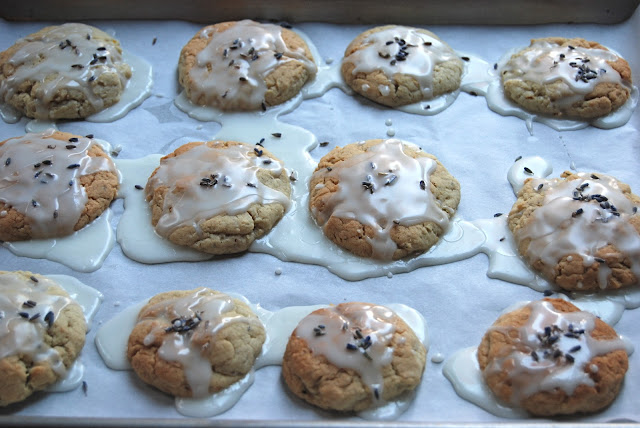
Spoon the glaze over the tops of the cooled cookies. Don't try and contain it, it's going to go everywhere...and that's what you want!
Sprinkle of lavender on top
Perfectly delicious

Enjoy and have a great weekend!

Thursday, February 9, 2012

English Scones

Sift dry Ingredients together

Add butter in cubes and break apart with your hands until it looks like bread crumbs, Make sure butter is very cold so it doesn't melt with from your fingers. This took a little longer than I expected (about 7 minutes), but just be patient until you get the consistency you need.

Make a well and add milk gradually.

Flour your surface and pat out the dough! There is really no need to use a rolling pin here. ..roll your sleeves up and use your muscles!

We added sultanas, but you can use raisins, or any dried fruit you like!

Moment of improvisation- used a glass as a cutter instead of a biscuit cutter...worked like a charm!

DEFINITELY make sure your dough is rolled out 1/2 inch thick so you get a nice puffy scone when baked. If dough is any thinner it will not rise and look more like a cracker than a scone.
Place on buttered baking sheet and remember to brush the tops with milk before placing in the oven so they turn gold on top!

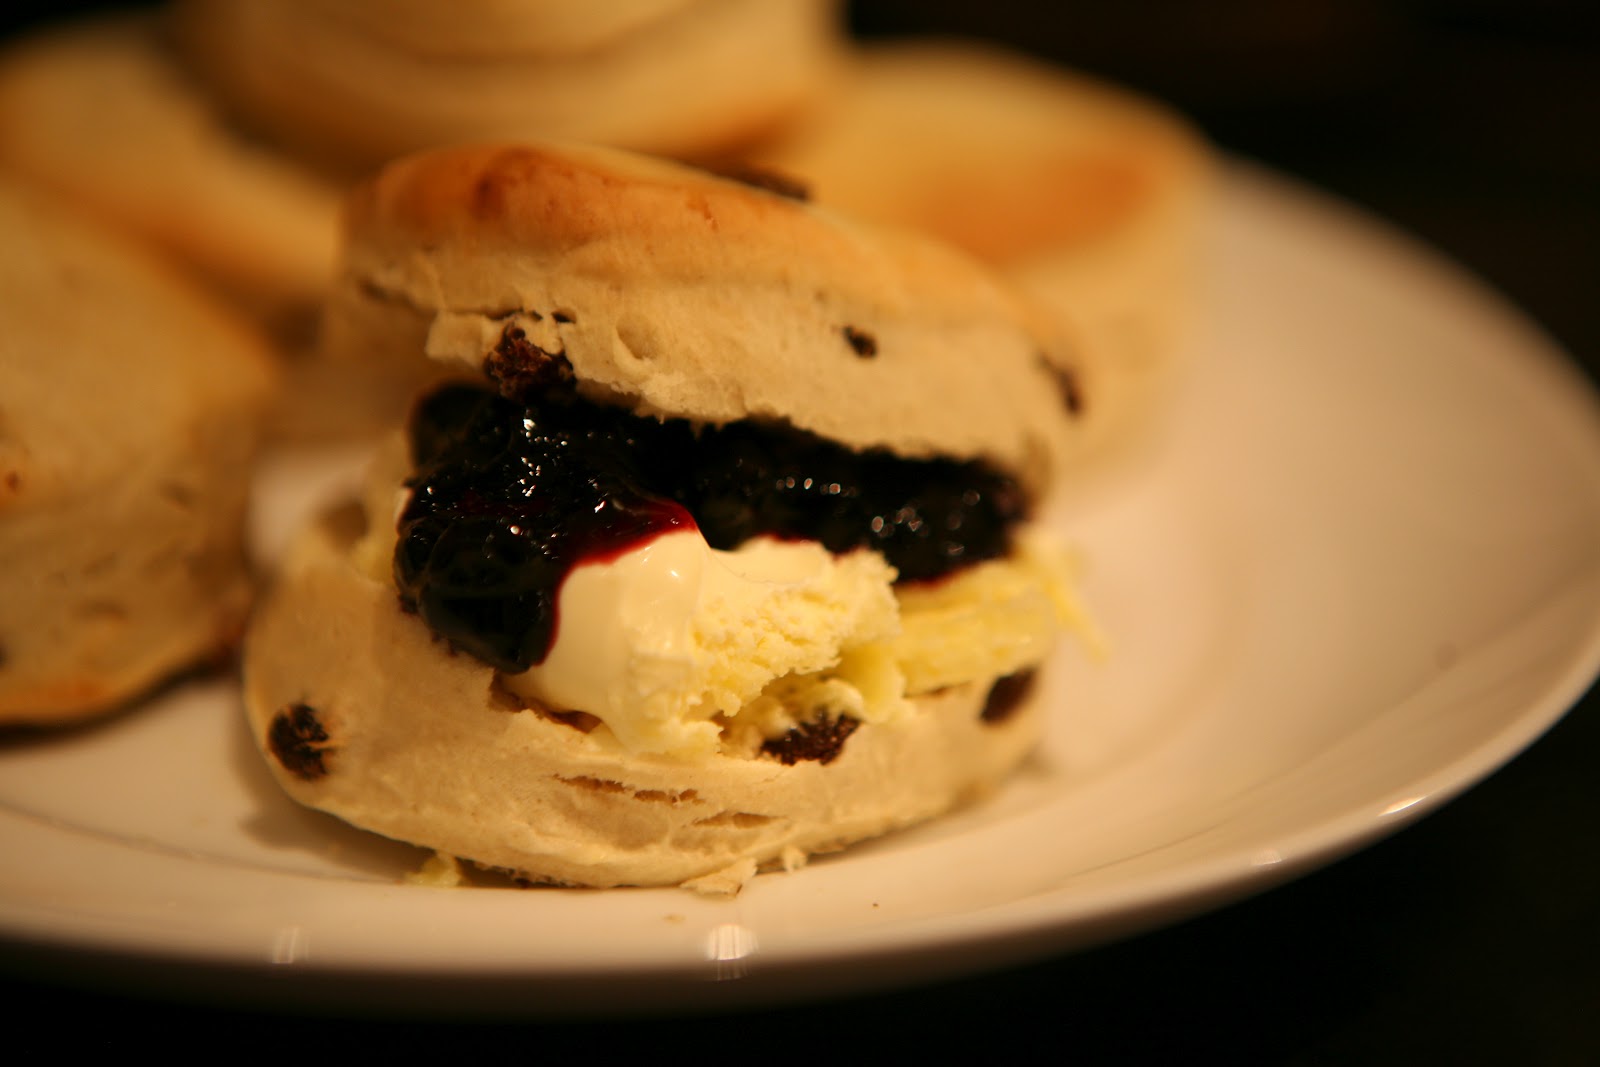
The finished product! Complete with Blueberry Jam and Cornish Clotted Cream (which is absolutely necessary).

And now, alas, we approach the last of my London posts. A friend and I decided to make these scones to have with our tea after we downed the chicken salad ( recipe posted a few weeks ago). As it turns out, this very same friend was leaving for a long weekend on the Cornish Coast in England to celebrate a family birthday and could not show up empty handed! Now, down in Cornwall, the scone really just serves as a vessel for the clotted cream...and the cream to scone ratio is never too in favor of anyone's health, but we'll not think about that for the time being. We decided to use a recipe from Scones by Genevieve Knights, but you can find an almost identical recipe here from Gourmet Magazine.

You will need

3 3/4 Cups All Purpose Flour
1 1/2 TSP Baking Powder
1/2 TSP Salt
6 TBSP Unsalted Butter (very cold)
1/2 Cup Dark Raisins (or more depending on how much you like them)
1 1/4 Whole Milk


All the accoutrements you need for your scones. And a cup of tea, or course!


Thursday, February 2, 2012

An Afternoon of Pink Icing and Edible Glitter

Some seriously amazing cupcakes!
Pink Foil Cupcake Cups


Use two teaspoons to fill cups about 1/2 the way full
Perfectly done!
First of 3 shades of pink buttercream icing
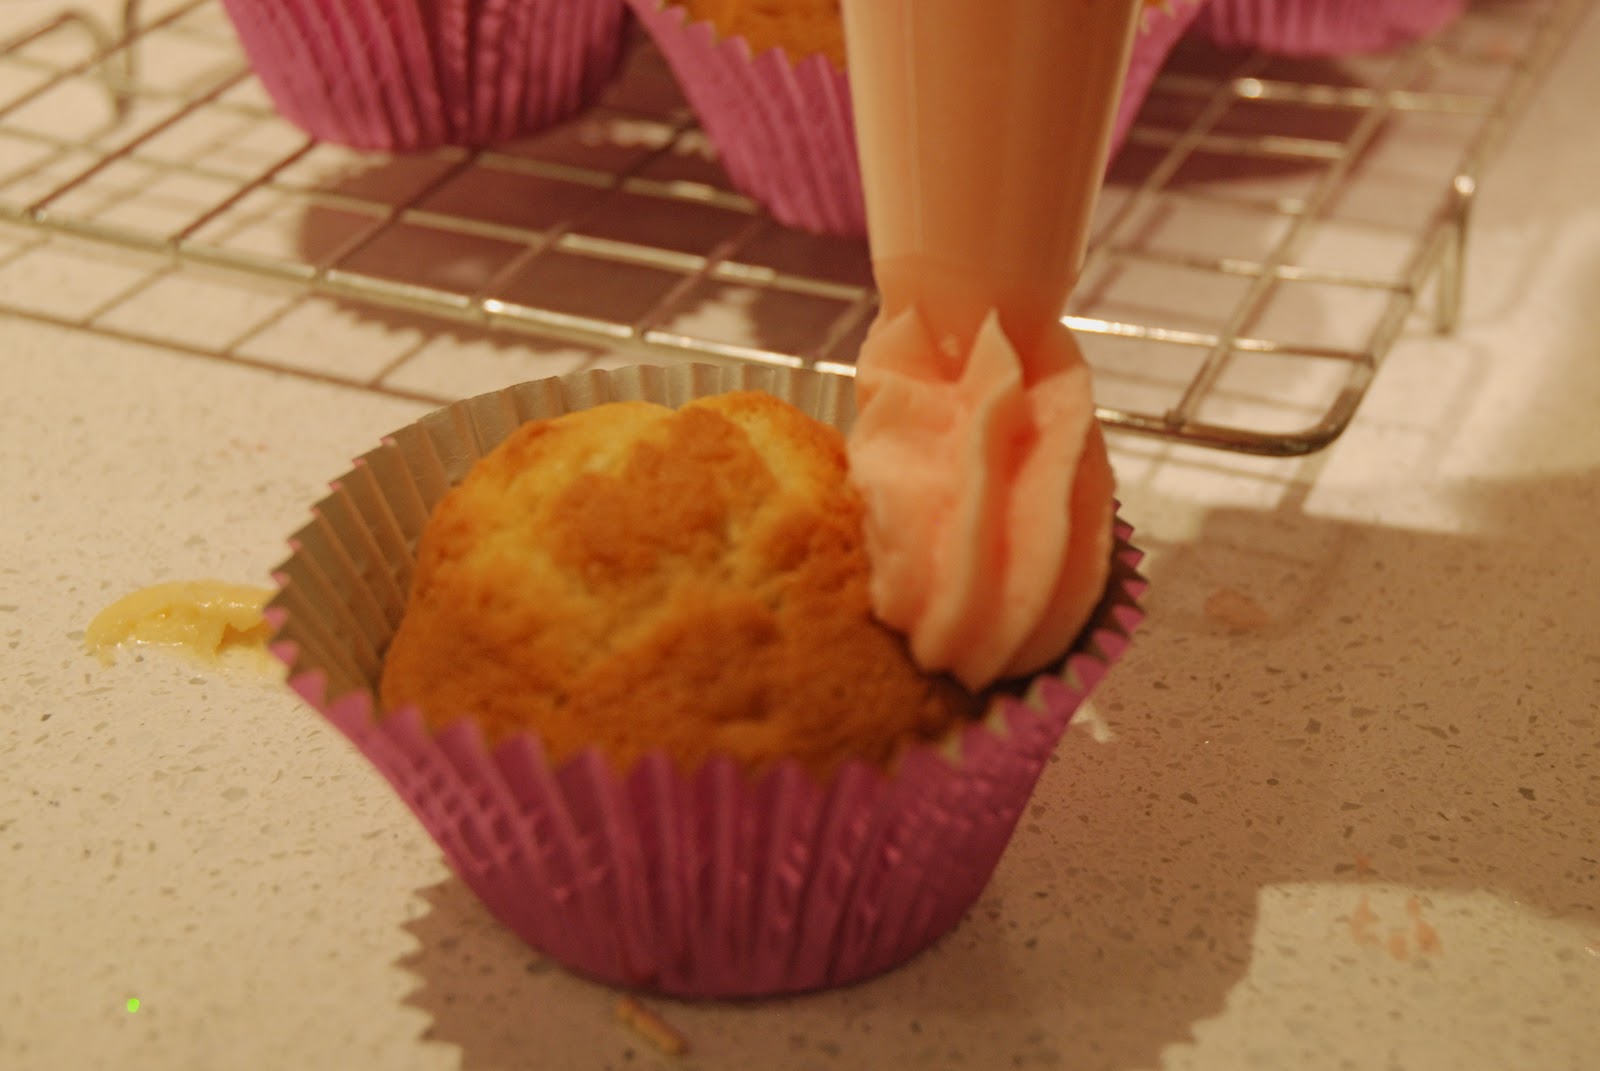
Used plastic disposable piping bags with an open star tip
Perfect piping.
Edible Glitter from Jane Asher in London.
Similar to be found State-side at 
Layercake Shop.
Use a butter knife to sprinkle glitter on cupcakes.
3 different shades of pink
And TA-DA!
The finished product almost too pretty to eat...almost
.

It was my second to last day in London and I have to admit I was feeling a bit melancholy. I was suffering from the anticipation of the separation anxiety that would most surely be mine once I landed back in New York, leaving most of my nearest and dearest friends behind. This, in addition to the pure exhaustion I felt after what was an amazingly fun, action-packed 11 days in London. Thankfully, I happen to be staying with one of the above described nearest and dearest friends, who was having none of it! Thus, the afternoon of baking began. Not just any baking however. We two mid-twenties ladies were transformed into giggly 6 year old girls who struck gold when we discovered a huge box filled to the brim with edible glitter, pink food coloring, sprinkles, hot pink cupcake cups, edible silver balls, piping bags, and any other baking extravagances your heart could desire (most of which are compliments of Jane Asher. For similar glitter in the States try here). Melancholy? What Melancholy? Time to bake! 


For the cupcake we used Nigella Lawson's fairy cake recipe. A very similar one can be found here. Instead of regular caster sugar we used vanilla sugar, which was delicious. For the buttercream, we winged it by putting about 1 lbs of butter in an electric mixer, gradually adding powdered sugar until we liked the consistency. It should be rather firm, to be able to hold its shape after piping. Find a good recipe here. We decided one shade of pink simply wasn't enough, so we slowly added organic pink food coloring to three different batches of icing to get the colors we wanted. For the piping we used a 1 M Open Star Decorating Tip to make a swirling effect. No need to get too technical here.. just find a tip you like, and go with it! 


Now, I realize that this is somewhat of a project, and takes a little planing in order to get the esthetic of the above. But if you find yourself wanting to surprise a friend with some birthday cupcakes that are extra special, or have a special occasion to bake for, the little bit of effort is well worth it. I mean, edible glitter? Come on! It's a no brainer. Have fun!


Resources

For fun and colorful cupcake cups click here.
For baking supplies such as piping bags and tips click here
For edible glitter and other decorative (and totally necessary) accents click here and here.